Page 1 of 2 12 LastLast
Results 1 to 10 of 19

Thread: Vestax pdx customization

Hybrid View

  1. #1
    Junior Member
    Join Date
    Mar 2015
    Location
    Boston-ish
    Posts
    67

    Vestax pdx customization

    I wanted to customize my turntables, Vestax PDX, for a custom table build project.

    Plan:
    -self ground
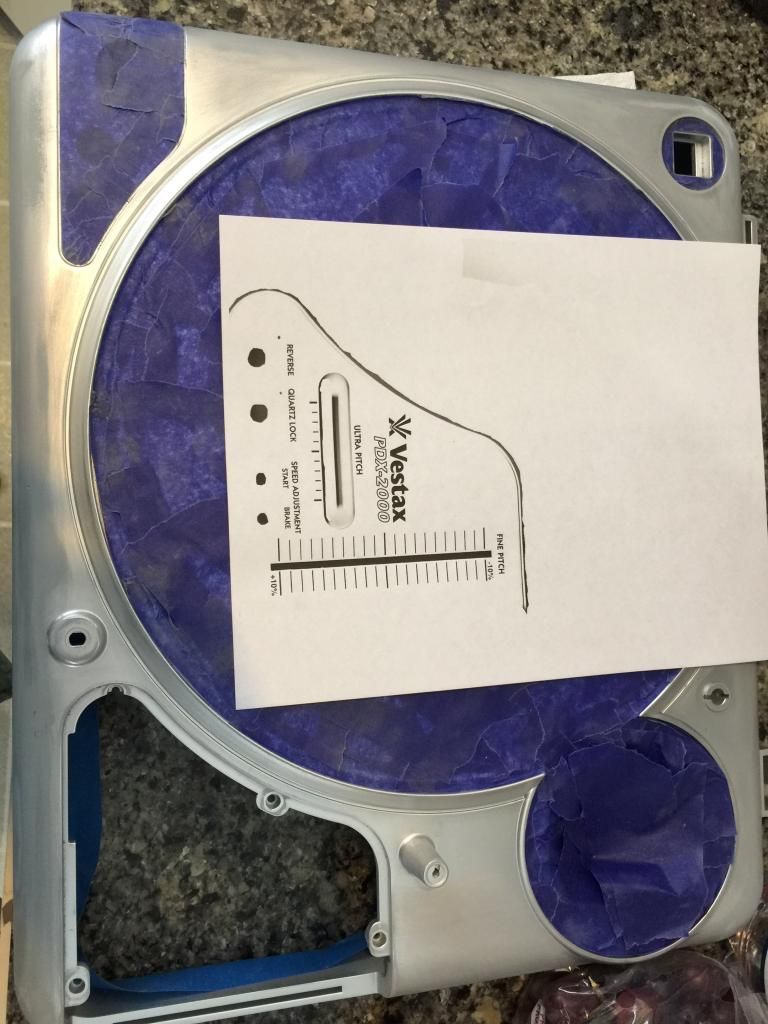
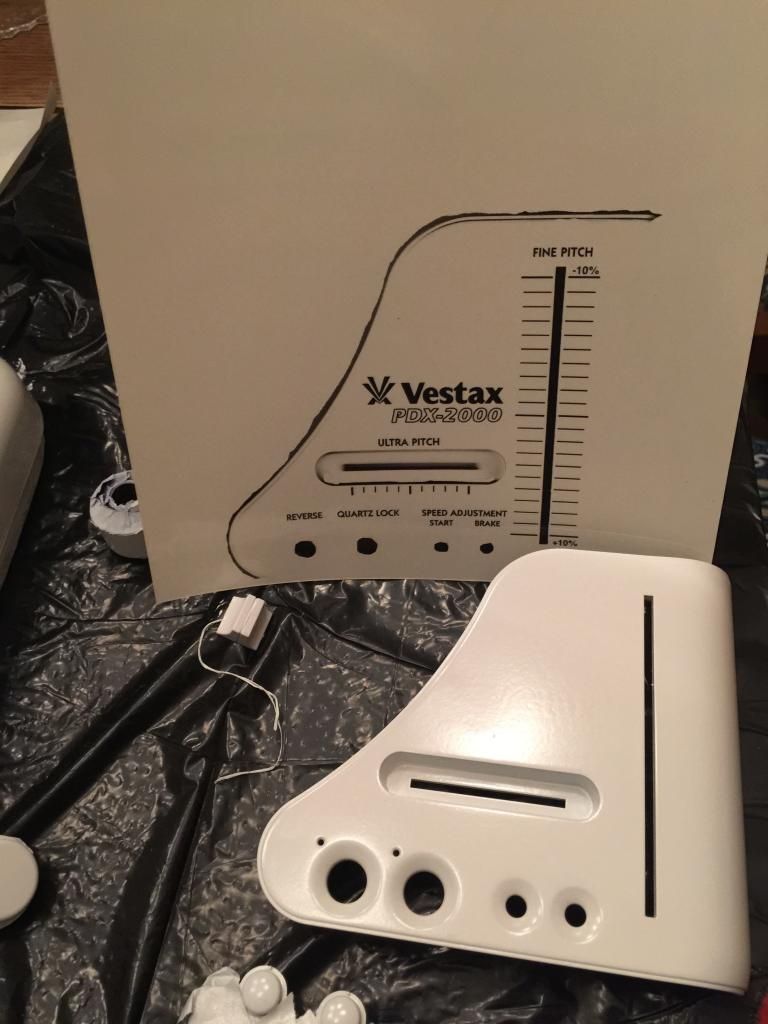
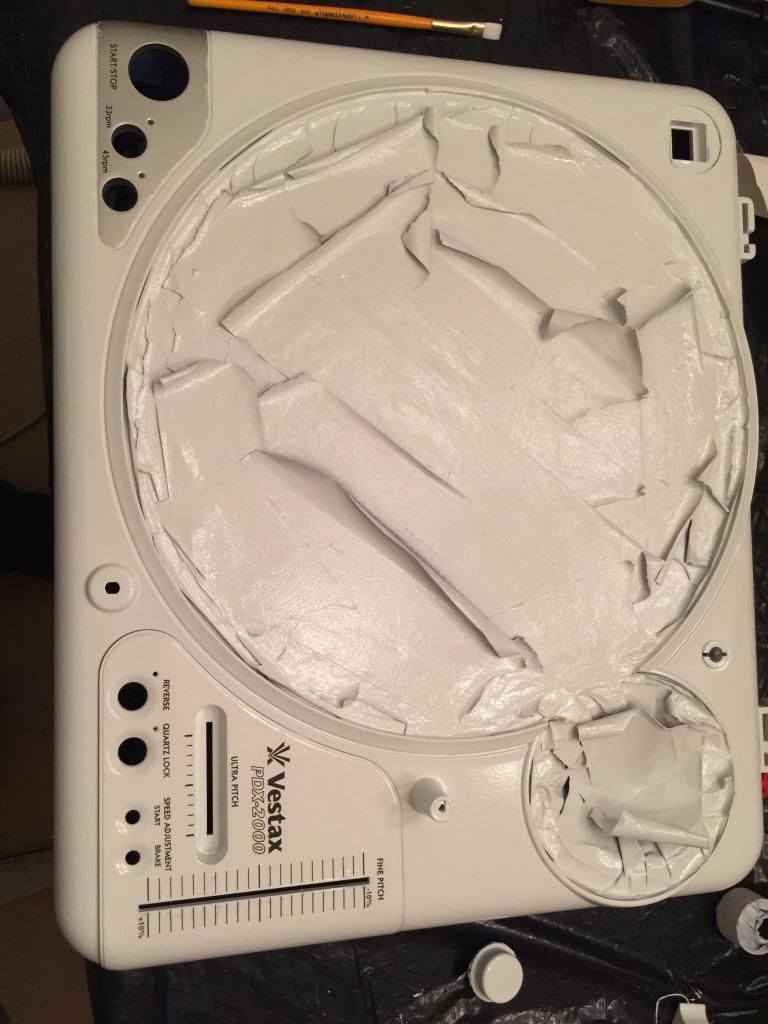
    -Paint white to match the table
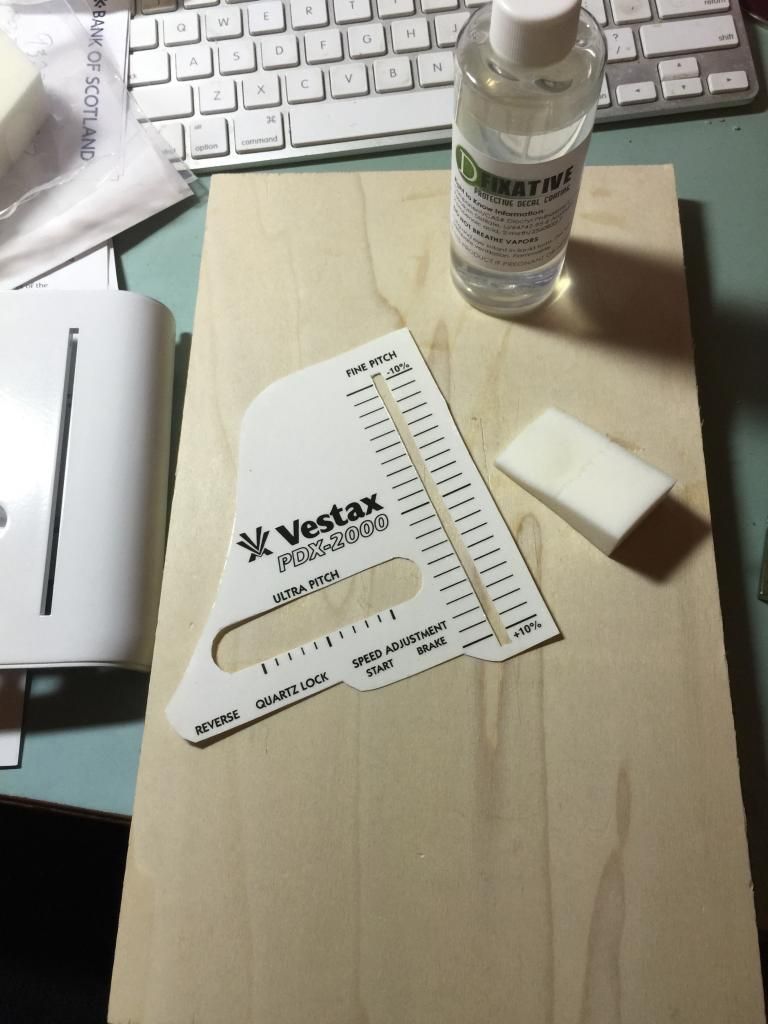
    -include all text on the turntable so it looks OEM
    -add halos under the platter and start/stop button
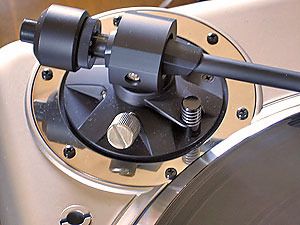
    -upgrade tonearm

    Taking it apart:
    -Undo the 2 screws holding in the platter.
    -I cut a hole in a cardboard box to be able to flip the turntable upside-down without damaging the tonearm.
    -Unscrew all of the screws at the bottom of the turntable (don't worry about the legs)

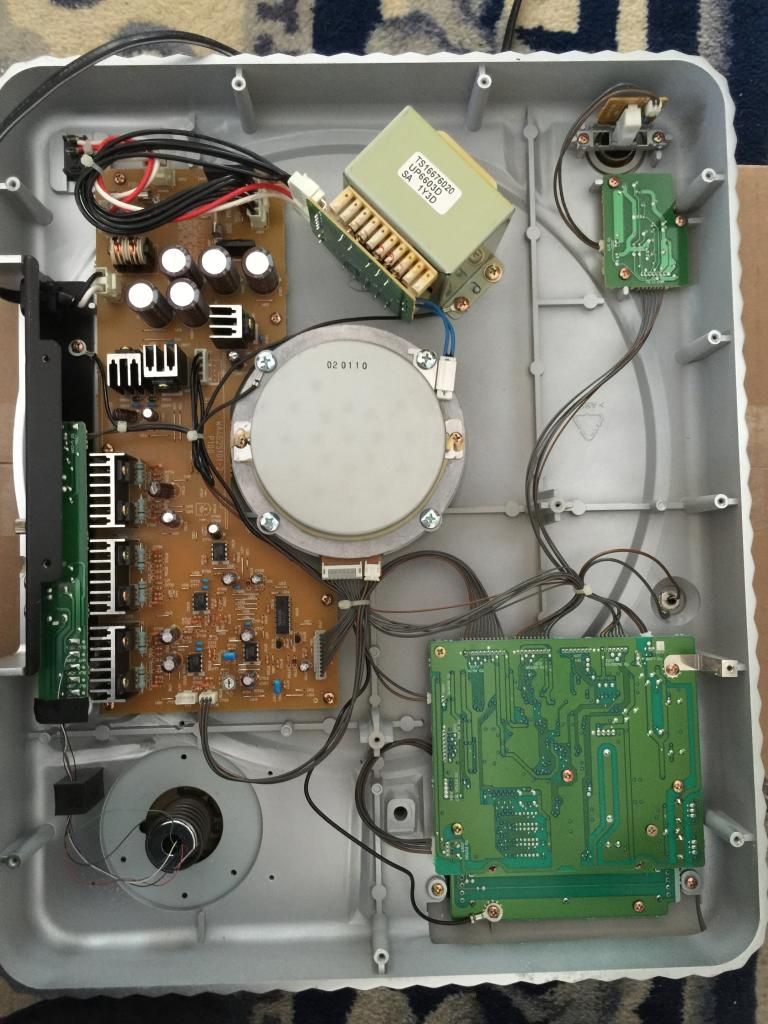
    When done it'll look like this:

    Notice all of the empty space to work with

    (Special thanks to st3pupdj on youtube for demonstrating this in a video)
    Last edited by NickyJ; 03-17-2015 at 10:29 PM.

  2. #2
    Junior Member
    Join Date
    Mar 2015
    Location
    Boston-ish
    Posts
    67
    Self-grounding:
    to find the wire responsible for the hum when not grounded, I took a wire, held it onto one of the obvious grounds, and touched it to each of the different wires connecting the turntable to the circuit board:

    I plugged the table into a mixer without connecting the grounding cable and listened to the hum. When I touched the wire attached to a grounded pin inside the turntable to each of the different wire leads in the above pic, I found that when I pressed it to one, the hum disappeared.

    Below is a pic of the wire lead I found which cuts out the hum:


    I will take a wire, attach one end to one of several obvious grounds inside the turntable and solder the other end to this lead and I won't ever have that annoying hum only relieved by using ground wires.

  3. #3
    New Member
    Join Date
    Nov 2018
    Location
    uk
    Posts
    1
    hi do you still have the pics pls? they are not on the forum

  4. #4
    Junior Member
    Join Date
    Mar 2015
    Location
    Boston-ish
    Posts
    67
    Next, in order to paint it, you have to remove all of the components which are attached to the top.

    I took a million pics of each part, every screw and wire connection before I took it apart so I knew how to put it all back together when done. Eventually you end up with a piece of plastic ready to sand with 400-600 grit sandpaper, tape off and then spray with a plastic spray paint. I chose glossy white.


    The piece with the writing on it comes apart from the rest of the table. I took that part and put it into a scanner and got a perfect life-size image of the part I want to get the text from.

    Then I scanned it as black & white:

    I popped this into photoshop and hand vectorized it (pixel by painstaking pixel) to get a pure black & white image and sharpened the edges of all writing.

    After some research, I landed on this stuff called Inkjet Waterslide Decal paper which I ordered from here. I chose this stuff because it's so thin and can slide around a bit before securing so you can play with it to get it positioned properly.
    Last edited by NickyJ; 03-20-2015 at 11:03 PM.

  5. #5
    Junior Member
    Join Date
    Mar 2015
    Location
    Boston-ish
    Posts
    67
    Here is my final piece printed onto the special glossy decal paper


    Then apply a solution to seal the ink into the plastic and cut after dried:


    Once applied onto the part:

  6. #6
    Junior Member
    Join Date
    Mar 2015
    Location
    Boston-ish
    Posts
    67
    I ended up painting the part I left silver in the above pic and repeated the decal for the text over that section

  7. #7
    Junior Member
    Join Date
    Mar 2015
    Location
    Boston-ish
    Posts
    67
    Vestax turntables have 2 basic types on their PDX line.

    ASTS which is what my turntable had anyway:


    And Dynamic Balance Tonearm which is harder to come by and has added skip resistance optimum for scratching:


    I happened to find an individual dynamic balance arm on eBay. The problem was it had a curved arm & being a scratch-man, I prefer straight.
    So, I swapped out the curve and popped in my straight which was fairly straightforward
    Last edited by NickyJ; 03-19-2015 at 08:31 PM. Reason: fixed typo

  8. #8

    Vestax pdx customization

    More nice work
    www.dnbradio.com

    Quote Originally Posted by Doppelganger
    He's just like me, only he's a man and more stupid

  9. #9
    Junior Member
    Join Date
    Mar 2015
    Location
    Boston-ish
    Posts
    67
    Thank you. I think I'm most impressed with that inkjet waterslide decal paper. It makes the whole thing come out really nice and professional.

    Its amazing what some paint can do to change a turntable and with that decal paper, it makes it seem OEM & legit.

    This weekend I plan on finishing this project. I have to apply 1 more decal then clear coat, then put it all back together & wire in halos & maybe a custom switch.

  10. #10
    Junior Member
    Join Date
    Mar 2015
    Location
    Boston-ish
    Posts
    67
    Looking at these pics, I'm noticing imperfections I haven't been able to see with my own eyes which are sort of bothering me. I might take it apart again, do another layer or two of clear coat, wet sand with 1200, 1500 & 2000, buff and blow another day making it perfect.... but that might have to wait for some time a ways down the road. Feeling a bit fried after today, haha.

    I also want to do a halo under the start/stop button which I didn't get to today because the wire connectors I had sucked, but I'll do it someday.

    Sorry I forgot to take pics of the wiring which took some trial and error figuring it all out, but I can open it up easy enough to show & tell sometime soon.

Posting Permissions

  • You may not post new threads
  • You may not post replies
  • You may not post attachments
  • You may not edit your posts
  •  
a